Why I Fell in Love with Markdown for All My Writing Needs 😍
As a writer, I’m always on the lookout for tools and techniques that can help me write more efficiently and effectively. A few years ago, I discovered Markdown and it completely transformed my writing workflow for the better. In this post, I want to share with you the top benefits I’ve experienced from adopting Markdown as my go-to writing format.
1. Markdown Keeps Me Focused on My Words, Not Formatting 🎯
One of the biggest advantages of Markdown is that it allows me to focus purely on my writing, without getting distracted by complex formatting options. With Markdown, I can use simple, intuitive syntax to structure my documents, such as # for headings, * for bullet points, and > for quotes. This streamlined approach helps me maintain my writing flow and keeps me in the creative zone.
2. Markdown is Platform-Agnostic 🌐
Another huge benefit of Markdown is that it’s a plain text format, which means my Markdown files are compatible with virtually any device, operating system or software. I can easily write on my laptop, make edits on my tablet, or jot down notes on my phone, knowing that my Markdown files will always be accessible. Plus, I don’t have to worry about file compatibility issues or software-specific formatting quirks.
3. Markdown Helps Me Write Faster ⚡
Using Markdown has significantly sped up my writing process. The lightweight syntax allows me to format my text on the fly, without having to take my hands off the keyboard or reach for a mouse. I can create headings, lists, links and more with just a few keystrokes. This efficiency boost has been a game-changer for me, especially when I’m on a tight deadline or need to capture ideas quickly.
4. Markdown is Ideal for Collaborative Writing Projects 👥
Markdown has also proven invaluable for collaborative writing projects. Because it’s a plain text format, Markdown files can be easily version-controlled using tools like Git. This allows multiple writers to work on the same document simultaneously, without worrying about overwriting each other’s changes. Markdown’s simplicity also makes it easy for collaborators to understand and edit the document structure.
5. Markdown is Future-Proof 🔮
Investing my time in learning and using Markdown feels like a smart long-term move. Because it’s an open standard and widely supported, I have confidence that Markdown files will remain readable and usable well into the future. I don’t have to worry about my writing being locked into a proprietary file format that may become obsolete. With Markdown, I feel in control of my content.
6. Markdown Integrates Seamlessly with My Blogging Workflow 🖊️
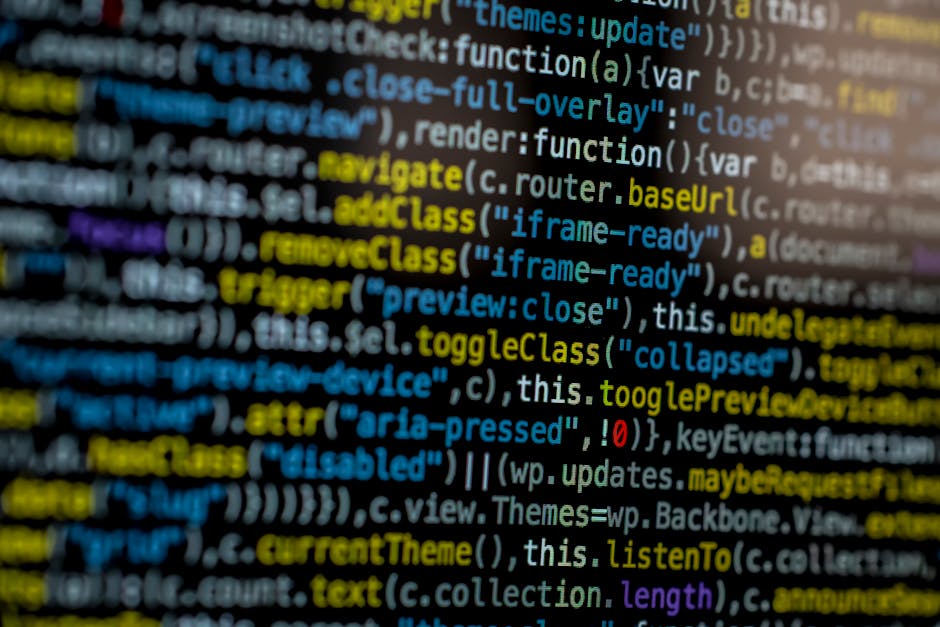
As a blogger, Markdown has become an indispensable part of my writing toolkit. Most major blogging platforms, including WordPress, support Markdown either natively or through plugins. This allows me to write my posts in Markdown and then export them directly to my blog with all the formatting intact. No tedious copying-and-pasting or wrestling with web editors – just a smooth, efficient workflow from draft to publish.

Wrapping Up: Markdown is a Writer’s Best Friend
In conclusion, adopting Markdown has been one of the best decisions I’ve made as a writer. Its simplicity, portability, and efficiency have revolutionized my writing process and allowed me to focus on what matters most – crafting compelling content. If you haven’t yet given Markdown a try, I highly recommend exploring this powerful writing tool. Trust me, your inner writer will thank you! 🙌